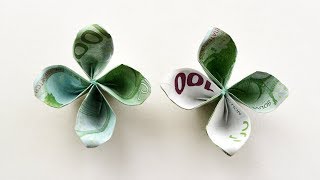
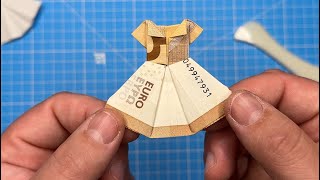
Euro and Dollar Origami: A Creative Money‑Saving Craft
Origami, the traditional Japanese art of paper folding, can be brought into the modern world by using everyday currencies like the Euro and the United States Dollar. Whether you want a decorative souvenir for a party, a unique gift, or a fun way to teach kids about money, Euro and Dollar origami offers a simple, inexpensive solution. This article walks you through the basics, the materials needed, step‑by‑step instructions, and a few creative variations.
Why Fold Money?
Using real banknotes in crafts can be a conversation starter. The designs can be customized for a holiday, a personal milestone, or simply to showcase your artistic flair. However, it is important to remember that in many countries, damaging or defacing currency is illegal. Always check local laws before proceeding. When done respectfully and for non‑commercial purposes, these projects can be a fun way to repurpose old bills.
Materials You’ll Need
- Fresh Euro or Dollar bills (the more recent the better for crispness)
- Sharp scissors or a paper cutter (optional, for trimming)
- Transparent tape or a light adhesive (for securing folds if desired)
- Optional: a small ruler or a reference image for precise folds
Tip: If you’re worried about damaging the currency, you can use a high‑quality reproduction of a banknote or a paper template that mimics the look of money.
Step‑by‑Step Guide to a Classic Bird
The most popular Euro and Dollar origami design is the “bird” or “swallow.” The following steps assume you are starting with a single, uncut bill. If you prefer a more elaborate shape, such as a swan, you may need a larger bill or two joined together.
- Fold the bill in half lengthwise. Hold the edges together and crease firmly. This creates a central line that will guide the rest of the folds.
- Unfold and fold each corner to the center line. This gives you a kite shape with a point at the top.
- Fold the top point down to the bottom edge. This creates a triangle with a small rectangle at the base.
- Turn the paper over and repeat the previous fold. Now you have a symmetrical shape.
- Fold the two outer corners toward the center again. This will form the wings of the bird.
- Open the wings slightly and fold the tips inward to create a beak.
- Adjust the wings and tail for balance. The bird should stand upright on its back.
Congratulations! You have a simple yet elegant Euro or Dollar origami bird. Feel free to experiment with different angles or sizes by using larger bills or cutting the bill into strips.
Alternative Designs: Swans, Stars, and More
While the bird is a classic, there are other shapes you can create with a single bill or multiple bills:
- Swans: Use a larger bill or a pair of bills. The process is similar to the bird but includes an additional fold to form a long neck.
- Stars: Cut