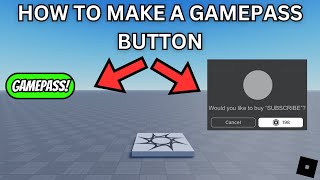
How To Make A Gamepass Pop Up In Roblox Studio
Roblox developers often want a clear, in‑game prompt that tells players about a gamepass before they purchase it. A well‑designed pop‑up can increase conversions and improve the player experience. This article walks you through the entire process— from creating the gamepass on the Roblox website to scripting a responsive pop‑up inside Roblox Studio.
Prerequisites
- Roblox Studio installed and logged in with a developer account.
- A published game (or a local place) where you have permission to edit scripts.
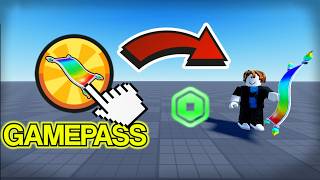
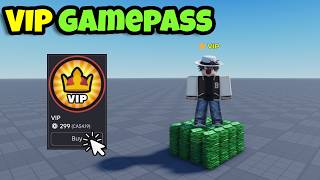
- A gamepass already created on the Roblox website. You can create one by visiting the “Create” page, selecting “Game Passes,” and uploading an image and description.
- Basic knowledge of ScreenGui, TextButton, and Lua scripting.
Step 1: Add the Gamepass to Your Place
Link the Gamepass ID
Open the place in Roblox Studio, then locate the Explorer and Properties panels. Insert a Folder named Gamepasses inside ReplicatedStorage. Inside this folder, create a NumberValue and name it PassID. Set its Value property to the numeric ID of your gamepass (e.g., 12345678).
Why Use ReplicatedStorage?
Storing the ID in ReplicatedStorage keeps it accessible to both the server and client scripts without exposing it in the client hierarchy, which is a best practice for security and organization.
Step 2: Build the Pop‑Up GUI
Create a ScreenGui
- In the StarterGui service, right‑click and select ScreenGui. Rename it GamepassGui.
- Inside GamepassGui, add a Frame called PopupFrame. Set its Size to {0.4, 0}, {0.3, 0} and position it to the center of the screen.
- Apply a BackgroundColor3 of your choice (commonly a dark semi‑transparent shade) to make the pop‑up stand out.
Add Text and Buttons
- Insert a TextLabel inside PopupFrame for the title, e.g., “Exclusive Gamepass Available!”
- Add another TextLabel for the description. Keep the text concise and