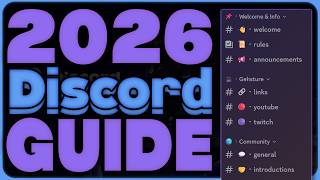
Introduction to Discord Servers
Discord servers are virtual spaces where communities, friends, or teams can communicate through text, voice, and video channels. Whether you're building a gaming group, a study circle, or a professional network, creating your own server gives you full control over its structure and rules. With its intuitive interface, Discord makes it easy to set up a server in just a few steps. This guide walks you through the process, from signing in to inviting members and customizing your space.
Step 1: Create or Log Into Your Discord Account
Before starting, ensure you have a Discord account. If you don’t, visit discord.com to register using your email or phone number. Download the Discord app for your device or use the web version. Once logged in, click the + icon in the left sidebar to begin creating your server.
Step 2: Choose Your Server Setup Method
Discord offers two options: Create My Own or From a Template. Select Create My Own to build a server from scratch. For quick setups, choose From a Template to use pre-made layouts tailored for gaming, study groups, or community events. This step mirrors the approach shown in many video tutorials, where creators often use templates to save time.
Step 3: Name Your Server and Set an Icon
After selecting your setup method, you’ll be prompted to name your server. Choose a clear, descriptive name that reflects your community’s purpose. Next, upload a server icon—ideally a square image (512x512 pixels) that represents your group. Click Creating to proceed. This process is typically completed in under a minute, similar to the challenge of setting up a server quickly in a video guide.
Step 4: Organize Channels for Communication
Once your server is created, you’ll land on the default #general text channel and a voice channel named General. To add more channels:
- Text Channels: Click the +