How To Make Gamepass In Roblox Game Please Donate
Roblox developers often use gamepasses to offer premium features while keeping the core game free. If you’re building a “Please Donate” game, a well‑designed gamepass can encourage players to support your project and unlock special perks. Below you’ll find a step‑by‑step guide that shows you exactly how to create, price, and publish a gamepass for your Roblox game.
Why a Gamepass Works for “Please Donate” Games
A gamepass is a one‑time purchase that grants permanent access to a specific benefit. In a donation‑focused game, it serves two purposes:
- Monetary support: Players who enjoy your content can contribute directly.
- Exclusive rewards: Offer items, abilities, or status that regular players cannot obtain.
Because the game remains free, you stay compliant with Roblox’s community standards while still earning revenue.
Preparing Your Place for a Gamepass
1. Open the Roblox Studio Project
Launch Roblox Studio and open the place that contains your “Please Donate” game. Ensure the game is saved in a public group or under your personal account so that you have permission to create assets.
2. Organize Your Assets
You can easily manage gamepasses by placing them in a dedicated folder called Gamepasses. This helps you locate the asset later when you need to edit its description or price.
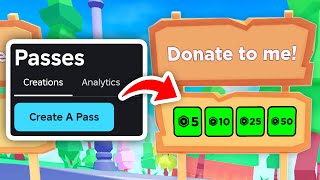
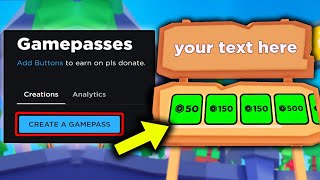
Creating the Gamepass
Step‑by‑Step Instructions
- Navigate to the Create page: In your web browser, go to Roblox Develop and click the Game Passes tab.
- Choose the place: Select the “Please Donate” game from the drop‑down list.
- Upload an image: Use a clear, eye‑catching thumbnail that reflects the benefit (e.g., a golden badge).
- Name the pass: Write a concise title such as “VIP Donor Pass”.
- Write a description: Explain the perks in plain language. Example: “Own this pass to receive a special badge and a 10% boost to your donation amount.”
- Set the price: Choose a Robux amount that feels fair for the value you’re offering. You can always adjust the price later