How To Make a Gamepass On Roblox Using Your Laptop
Learn how to create a gamepass in Roblox Studio on a laptop and monetize your game. In this tutorial I show you the full process from setting up the asset to scripting it into your game. GuideRealm is the home of technology-based how‑to’s and guides, so let’s dive in.
Prerequisites
- Have a Roblox account and be logged in.
- Download and install the latest version of Roblox Studio on your laptop.
- Create or open a game you want to add the gamepass to.
- Ensure you have a Roblox Premium membership; it’s required for publishing gamepasses.
Step 1: Design Your Gamepass Asset
Gamepasses are sold to players for exclusive benefits. The first step is to decide what your gamepass will offer: a special item, a unique character skin, or a permanent power‑up. Once you know the feature, create the corresponding asset.
- Open Roblox Studio and load your game.
- In the Explorer, right‑click ReplicatedStorage or a dedicated folder and select Insert Object → Model.
- Build or import the model you want to sell. Name it clearly (e.g., GoldenSword).
- Test the asset in Play Mode to ensure it behaves as expected.
Step 2: Create the Gamepass in the Roblox Developer Hub
Now that you have the asset ready, it’s time to create the gamepass itself.
- Navigate to the Roblox Developer Hub by going to developer.roblox.com.
- Select My Creations → Games and click on the game you’re working on.
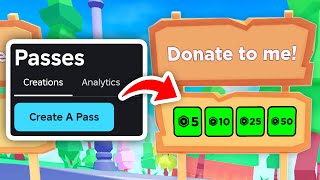
- In the sidebar, click Game Passes and then New Game Pass.
- Fill in the details:
- Name: What the player sees in the store.
- Description: A short explanation of the benefit.
- Price: Set the price in Robux.
- Image: Upload a 512x512 PNG or JPEG that represents the gamepass.
- Click Save. The gamepass will be created