How To Screen Record On iPhone: A Step‑by‑Step Guide
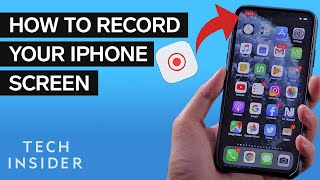
If you’ve ever wanted to capture the action on your iPhone screen, you’re in the right place. Whether it’s a gaming highlight, a tutorial, or a quick bug report, iOS makes screen recording simple once you enable the right settings. In this guide, I will show you a simple way to record your iPhone screen without needing any third‑party apps.
Why Use the Built‑In Screen Recorder?
The native screen recorder is fast, secure, and free. It records everything that appears on your display, including audio from the microphone if you choose. Because it’s built into iOS, the video files are saved directly to your Photos app, making them easy to edit or share.
Step 1: Add the Screen Recording Button to Control Center
- Open the Settings app.
- Tap Control Center.
- Scroll down to the Screen Recording option.
- Tap the + button next to it. The icon now appears in the “Included Controls” list.
That’s all you need to do to make the screen recorder accessible from any screen.
Step 2: Choose Your Audio Preferences
Before you start recording, decide whether you want to capture external sound:
- Open Control Center (swipe down from the top‑right corner on iPhone X or later; swipe up from the bottom on earlier models).
- Press and hold the Screen Recording icon.
- Toggle Microphone Audio on or off, depending on your needs.
Turning the microphone on is useful for commentary, while keeping it off records only the internal audio.
Step 3: Start Recording Your Screen
- Open Control Center again.
- Tap the Screen Recording icon. A three‑second countdown begins.
- The status bar at the top of the screen turns red, indicating that recording is active.
Now you can navigate to any app, game, or website you want to capture. Everything you do will be recorded until you stop.
Step 4: Stop the Recording
When you’re finished, you have two easy options:
- Tap the red status bar at the top of the screen and confirm “Stop.”
- Or, open Control Center and tap the Screen Recording icon again.
The video is saved automatically to the Photos app, where you can trim, edit, or share it.
Editing and Sharing Your Recording
iOS includes basic editing tools that let you trim the beginning or end of the clip:
- Open the recorded video in Photos.
- Tap Edit at the top right.
- Drag the sliders on the timeline to set the desired start and stop points.
- Tap Done to save the trimmed version.