How To Yarn Over In Knitting: A Complete Guide
Whether you’re a beginner or an experienced knitter, mastering the yarn‑over (YO) is essential for creating lace, eyelets, and decorative holes in your projects. This article explains how to yarn over step by step, offers practical tips, and shows you where the technique fits into common stitch patterns.
What Is a Yarn Over?
A yarn over is a simple maneuver that adds an extra loop of yarn to the fabric, creating an intentional hole. The technique is the foundation of many lace stitches, and it also helps increase stitch count without altering the overall size of the piece.
When to Use Yarn Overs
Yarn overs appear in a variety of patterns, such as:
- Classic lace motifs (e.g., feather and fan)
- Eyelet designs for sweaters and shawls
- Adjusting gauge when you need a few extra stitches
- Neutralising decreases like the right‑leaning k2tog decrease
In fact, This is a common lace stitch technique, where the right leaning k2tog decrease is neutralised by a yarn over placed a few stitches later. Understanding this balance lets you keep the fabric flat and avoid puckering.
Step‑by‑Step Instructions on How to Do a Yarn Over
Below are step‑by‑step instructions on how to do a yarn over in both the knit and purl rows. Follow the sequence that matches your pattern.
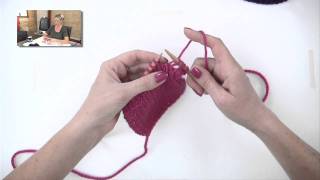
- Position the yarn. Hold the working yarn in front of the needle (for a knit YO) or behind the needle (for a purl YO).
- Wrap the yarn. Bring the yarn over the tip of the right‑hand needle, creating a loop that sits on the needle.
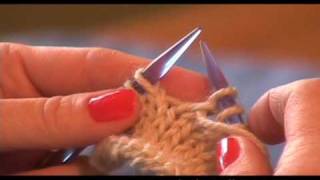
- Continue the row. If you are on a knit row, simply knit the next stitch as usual; the yarn‑over will be treated as a stitch on its own.
- Count the stitch. The yarn over adds one stitch to your count. Make sure to include it when you calculate the total stitches for the row.
- Finish the row