Self Portrait Template: A Complete Guide to Crafting Your Own Visual Story
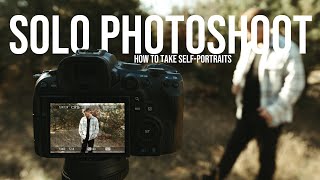
Self‑portrait photography has become a powerful way to express identity, experiment with style, and share a personal narrative. Whether you’re a hobbyist or a seasoned photographer, a well‑designed self portrait template can streamline your workflow, help you maintain consistency, and inspire creativity. In this article we’ll walk through the fundamentals of building a template, explore a popular Split‑Face technique, and give you practical tips for shooting with Sony cameras and applying LUT packs.
Why Use a Self Portrait Template?
Templates provide a framework for:
- Time‑saving: Pre‑defined settings and poses reduce trial‑and‑error.
- Consistency: Keep lighting, framing, and color grading uniform across a series.
- Experimentation: Focus on creative elements instead of technical details.
With a template, you can quickly iterate, compare results, and refine your personal style.
Creating a Self Portrait Template
- Define Your Vision
- Choose a theme (e.g., minimalist, cinematic, surreal). This will guide lighting, backdrop, and color choices.
- Select a mood board to reference textures, colors, and composition.
- Set Up the Camera
- Use a tripod and a remote shutter release for stability.
- Set the ISO low (100–400) to minimize noise.
- Choose a focal length of 35–50 mm for flattering perspective.
- Lock the aperture (f/5.6–f/8) to ensure a comfortable depth of field.
- Lighting Arrangement
- Three‑point lighting works well for most portraits: key light, fill light, and rim light.
- Use diffusers or softboxes to soften shadows.
- For a dramatic Split‑Face effect, position one light on each side of the face.
- Pose & Composition
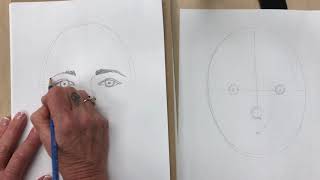
- Decide on a framing style: headshot, waist‑up, or full body.
- Practice angles that play with symmetry and asymmetry.
- Record the exact camera settings for each pose to replicate later.
- Post‑Processing Workflow
- Import your images into Lightroom or Capture One.
- Create a preset that adjusts exposure, contrast, and color balance.
- Apply a LUT pack for a consistent cinematic look.
Split‑Face Self Portrait Template Tutorial
The Split‑Face technique divides the subject’s face into two distinct halves, each with its own lighting, color, or mood. This creates a striking visual contrast that can convey duality or transformation.
- Lighting Setup
- Place a warm light on one side of the subject’s face and a cool light on the other.
- Use a small reflector to balance shadows if needed.